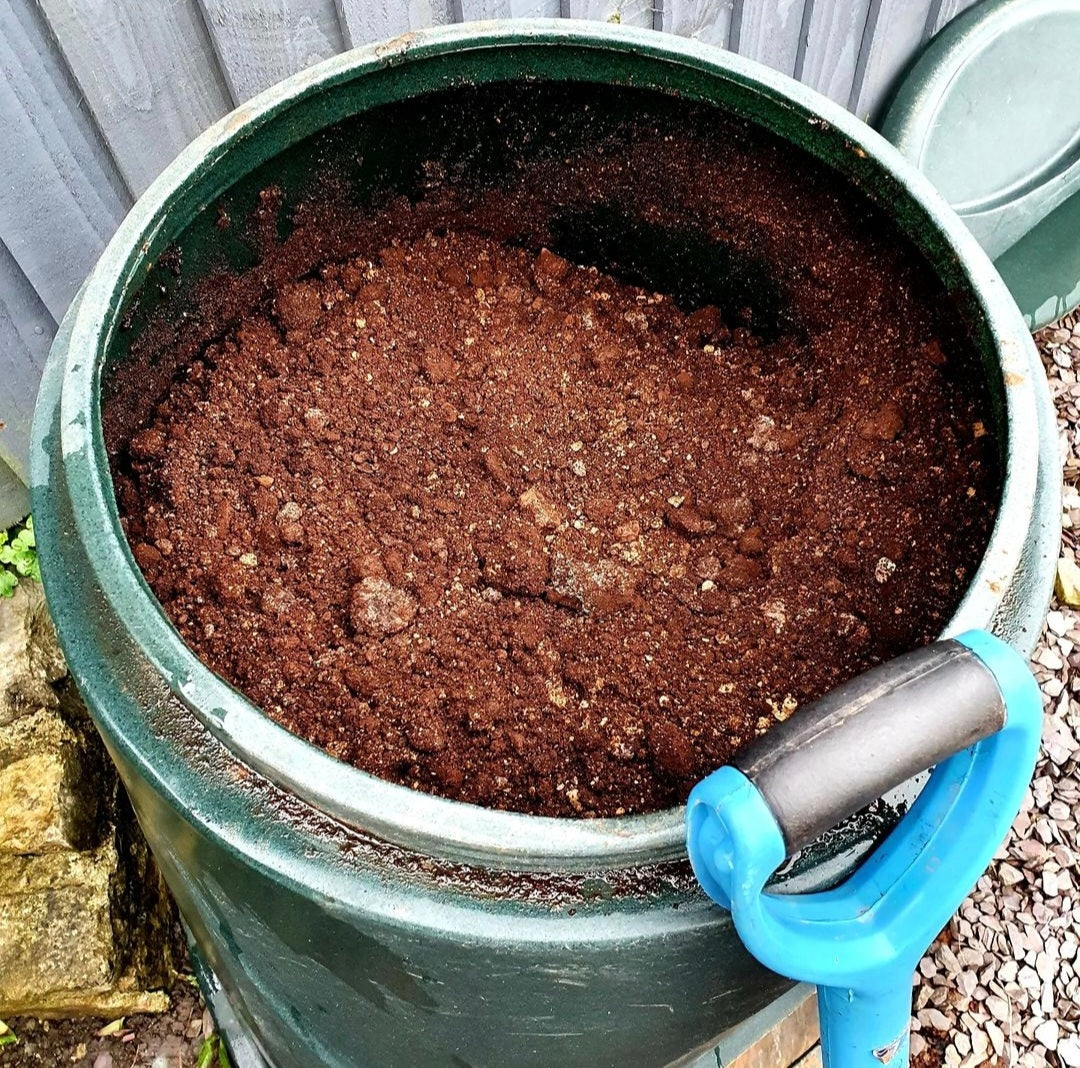
As a coffee lover, have you ever wondered what to do with all those coffee grounds generated daily? Composting with coffee grounds is an excellent eco-friendly way to reduce waste but also to improve soil health and create an environment for your plants to thrive. In this blog, we’ll discuss how YOU can get started with the process.
Tips on how to Compost with Coffee Grounds
Composting with coffee grounds is a simple and straightforward process. First, you'll need a compost bin or pile and plenty of other organic materials. Coffee grounds are considered a ‘green’ component. These are generally wet, more newly grown items such as fruit and vegetable scraps, fresh grass clippings and leaves. Green components need to be balanced with ‘brown’ components which are generally dry, older and woodier items such as wood chippings/sawdust/paper/cardboard/dried leaves.
Step 1: Collect your coffee grounds. You can either save them from your daily coffee routine or ask your local coffee shop for their waste grounds too. Most coffee shop owners would be pleased they are being put to good use.
Step 2: Add your coffee grounds to your compost pile. Coffee grounds themselves have a Carbon : Nitrogen ratio of around 20:1. Experts would say that this is almost the perfect ratio on its’ own. The ideal is around 25:1- so this is the reason to mix the grounds with other ingredients, especially brown/carbon rich items. It doesn’t have to be exact but for every bucket of waste coffee grounds (and other greens) add around 3 -4 buckets of brown materials. To be honest, I find this is a great way to get rid of excessive packaging paper and cardboard. Just make sure they are torn into shreds which helps them breakdown.
It’s the nitrogen in the coffee grounds, and other green components, that generate the heat to aid decomposition by bacteria and fungi. The heat (and coffee grounds) also attracts earthworms (see a later blog on this topic) which get busy munching away on the organic matter. Don’t overdo it though as you can have too much nitrogen, and this can have a negative impact.
Waste coffee grounds are slightly acidic at a pH around 6.5 – 6.8, but close to neutral. A slightly acidic compost is often actually preferred at the beginning of the compost process. The addition of coffee grounds does not seem to impact upon the pH of the final compost.
Coffee grounds also improve the nutritional profile of the compost by improving availability of phosphorus, potassium, magnesium and copper.
Step 3: Don’t’ forget to mix your compost. Use a pitchfork or shovel to turn your compost regularly. This will help aerate it and speed up the composting process. Your compost needs oxygen!
Keep your compost moist. Coffee grounds have a large surface area and can hold a lot of water, so it's actually a good ingredient to keep your compost pile moist. If your compost is too dry, it will take longer to break down. The large surface area of coffee grounds also means it easier to break down by bacteria and fungi.
Coffee grounds have the ability to mask other unpleasant odours and continues to give off a coffee aroma during the composting period which acts as a deterrent to pests, including a wide variety of insects.
Step 4: Be patient! Wait for your compost to mature. Depending on the size of your bin or pile, it can take anywhere from a few weeks to a few months for your compost to be ready. You will know it's ready when it's dark brown and crumbly. It's worth the wait!
In conclusion, composting with coffee grounds is an excellent way to reduce environmental waste and create nutrient-rich compost for your garden. By following the simple steps and tips outlined in this blog, you can get started today and enjoy the benefits of composting with coffee grounds. So, the next time you brew your cup of coffee, remember that the coffee grounds can go a long way in helping you go green!

